Decluttering Before Your Move: A Step-by-step Guide
Feeling overwhelmed by all the stuff you’ve accumulated? If you’re getting ready to move, you’re probably thinking, “How am I going to pack all of this?” Well, there’s a simple answer: decluttering! By decluttering before your move, you’ll save time, money and effort and get a fresh start in your new home with a clearer mind and a cleaner space. In this guide, I’ll walk you through some easy, practical steps to help you declutter and make your move a whole lot smoother.
Step 1: Start Early & Plan Ahead
Moving can be stressful, but getting a head start on decluttering makes it easier to manage. As soon as you know you’re moving, begin by setting a decluttering timeline. Ideally, aim to start 6-8 weeks before moving day, allowing plenty of time to work through different areas of your home without feeling rushed.
Create a checklist or schedule that breaks down the task into smaller, manageable goals. For example, you could tackle one room or category per week. Having a plan helps you stay focused and keeps the process from overwhelming.
Step 2: Categorise Your Belongings
Before you begin the decluttering process, it’s important to get organized. Instead of just dumping your belongings into random piles, sort them into categories: keep, donate, sell, recycle or discard. This will help you determine what you actually need in your new home and what you can let go of.
- Keep: Items that are regularly used or have sentimental value.
- Donate: Belongings that are still in good condition but no longer needed.
- Sell: Higher-value items that are no longer necessary but could fetch a good price.
- Recycle: Items like paper, electronics and old batteries that need to be disposed of responsibly.
- Discard: Broken or damaged goods that can’t be repaired or donated.
Step 3: Tackle One Room at a Time
It’s easy to feel overwhelmed if you try to declutter your whole house at once. Instead, focus on one room at a time to keep the task manageable. Start with areas that tend to accumulate clutter, such as the garage, attic or spare room.
When you enter each room, follow the sorting categories mentioned above and ask yourself whether you really need or love each item. If you haven’t used something in the past year, it’s likely time to let it go. Remember, the less you have to move, the easier your transition will be.
Step 4: Be Ruthless with Clothes and Books
Two of the most common culprits of clutter are clothes and books. It’s easy to hold onto things you “might wear someday” or books you “plan to read” but never get around to. Now’s the time to be ruthless.
For clothes, try the “one-year rule” — if you haven’t worn it in the last year, it’s probably safe to donate or sell. For books, consider whether you’re realistically going to read them again or if they could be better appreciated by someone else. It’s worth remembering that heavy items like books will add weight (and cost) to your move, so lighten the load where you can.
Step 5: Sell or Donate Unwanted Items
Once you’ve decided which items you no longer need, consider how you want to dispose of them. Many people opt to sell their unwanted goods online through platforms like Gumtree or Facebook Marketplace. This can help you recoup some moving costs while giving your items a second life.
Alternatively, you can donate items to local charities, community groups or second-hand shops. Many organisations will gladly accept clothing, furniture, electronics and household goods in good condition. Check with local donation centres to find out what they’re currently accepting.
Step 6: Dispose of Unusable Items Responsibly
If an item is broken or unusable, make sure to dispose of it in an eco-friendly manner. This might mean taking electronics to an e-waste recycling centre or disposing of hazardous materials, like paint or chemicals, at a local waste facility. Many councils offer bulk waste collection services, so it’s worth checking if yours does, too. The goal is to avoid sending unnecessary items to landfills, so try to recycle whenever possible.
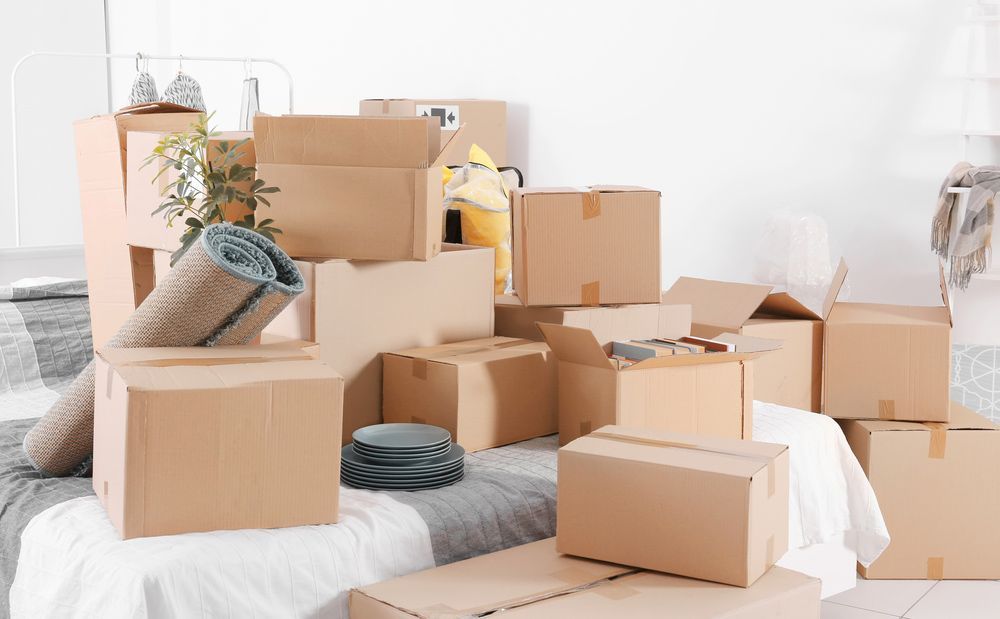
Step 7: Organise What You’re Keeping
Once you’ve sorted and decluttered, you’ll be left with the essentials. Make the most of this opportunity to organise your belongings before packing. Group similar items together and label boxes clearly, so unpacking at your new home will be a breeze. Consider investing in storage solutions such as bins, baskets and drawer organisers to keep everything neat and tidy in your new space.
Plan Your Clutter-Free Move: Contact Our Professional Team Today!
At O’Grady’s Transport & Removals, we make interstate moves seamless. Our expert removalist Brisbane to Sydney team handles every step with care, ensuring your belongings arrive safely. Whether it’s a few boxes or your whole household, our reliable Brisbane to Sydney movers are ready to help. Contact us today for a hassle-free move!